
If you follow us on Instagram you have noticed that we don’t post a lot of final images there. For now we prefer to show what is happening at the studio closer to real time so I usually snap photos of Ally doing her thing with my iPhone. I am not the pro photographer here – Ally is. So while the photos we post on Instagram aren’t of professional quality, that’s not quite the point of Instagram in the first place. That is not to say you can’t post professional and artistic photos on Instagram, it’s just that a professional photo might look better as a fine art piece on a wall. Meanwhile I am going to show you how to make cool Instagram collages so you can have some fun! We had a recent session with the men from Tapper’s Jewelry which is down the hall from us here in the Orchard Mall for their upcoming in-house magazine, Accent. Here is the Instagram collage I made from the photo shoot.

Get Your App
First download an app from your app store. I use the free version of Snap Collage which I find to be pretty user friendly and effective. There is a paid version but so far I haven’t felt like I’ve needed it. For this little tutorial we will be using Snap Collage. Some of the other apps are similar and the steps will be similar as well.
Think Ahead
Keep in mind the type of collage you want to make when taking your photos or at least give yourself some options by taking some vertically and horizontally so that when you’re trying to fit your photos into your collage you’ll have more flexibility. You’ll get better at this as you go. You may even want to clean up your photos with another app before you start – I just started using VSCO and I think it is a great app. Here is an iPhone screenshot showing the sharpening tool within VSCO. The process of taking photos and editing them on a smartphone is a whole other topic that I won’t go into in detail here.

1. Launch the app
You’ve got your photos now let’s go to our Snap Collage home page. You will see the different galleries available there – just click on one and it will bring up thumbnails of the photos there as you can see below:

2. Select the photos you want to use. The nice thing is that Snap Collage automatically slots them into a few different templates which you can choose from along the top of the screen. You can add or remove photos by tapping the thumbnails.

3. Pick the collage template you want to work with. I have picked 4 photos I want to use and Snap Collage has automatically slotted them into several 4 photo templates for me. You can scroll along the top to look at the choices and if there is a template you like but don’t like the way the photos are arranged then just deselect one of the photos and re-add it and the photos will rotate within the template. Tap the one you like to see it in full screen. Note the options at the bottom – we’ll be using the “borders” option shortly.

4. Edit each photo if necessary. Tap on a photo in the template and Snap Collage will bring it to the forefront where you can play with it. Pinch and expand to zoom and/or rotate the photo to reposition it to your liking, and you can see there are a number of tools you can use to make more changes to that photo.
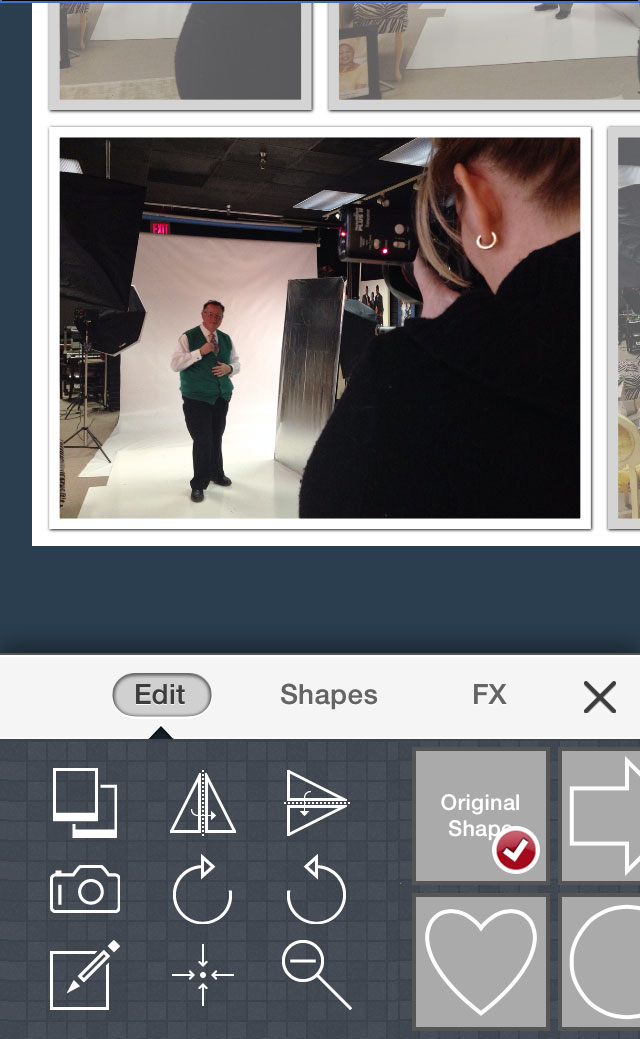
5. Add color, drop shadows, rounded edges, and/or themes to your collage frame. There are several tools in the app to do this. First tap again on the zoomed in photo to get back to the whole collage and then tap on the “borders” button at the bottom. This will bring up the dashboard for editing the frames of the collage.
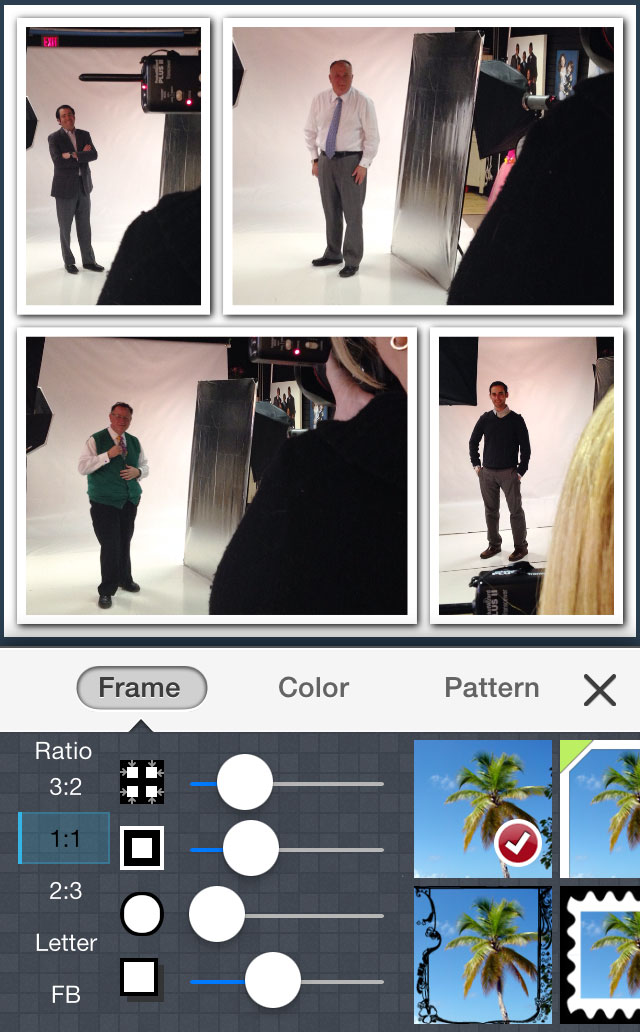 The ratio choices at the far left determine the aspect ratio of the whole collage – ideally I go for the 1:1 or square ratio which is the Instagram standard. The icons directly under the highlighted word “Frame” indicate which aspects of the frame you are adjusting as you slide the white circles next to each to the left or right. In this case I’ve already adjusted a couple of them including giving my frames some drop shadow to give them a little dimension (this is 5th and last icon at the bottom that I’ve slid almost half way across). The 4th one down allows you to round the edges as such:
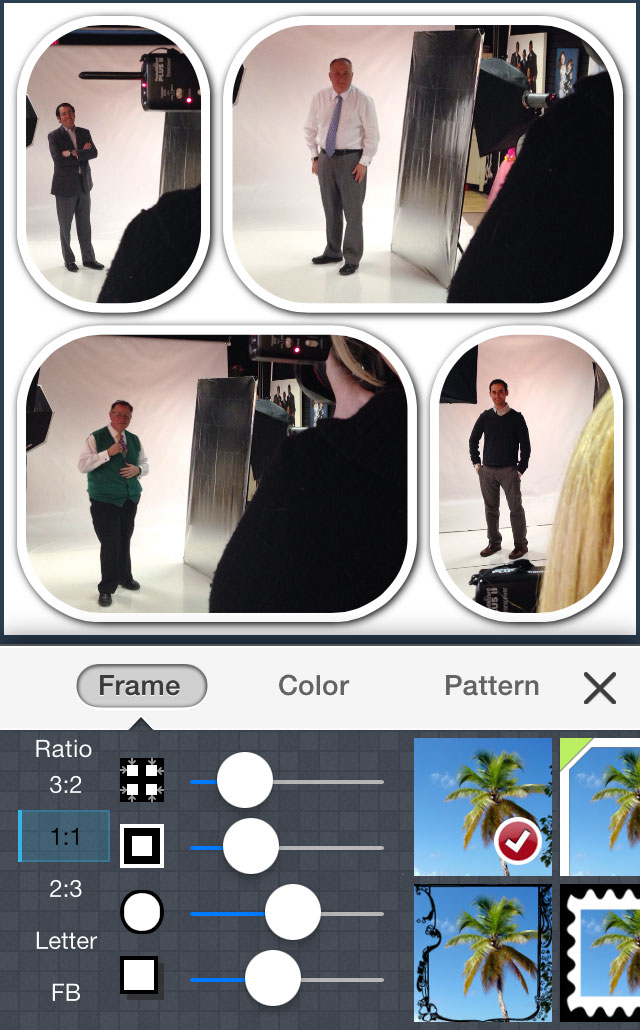
As you can see I’ve adjusted it more than 50% to the right and the edges are quite rounded. That’s a little more than I want so let’s slide it back a little:
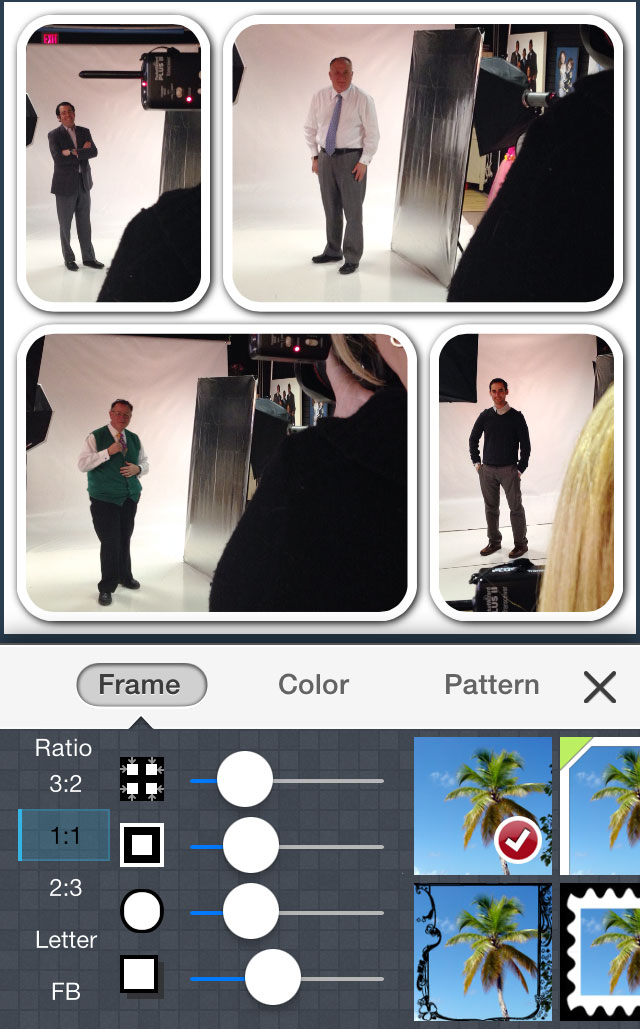
There that’s a little better. Next let’s click on “Color” and start adding a little color to the frame.

You can now simply slide the vertical scale with all the colors of the rainbow to the right and then within each palate range hone in on the exact color you like in the square. You can see I’ve selected black and grey for the border and inner frame. There are also pre-loaded patterns you can select instead of colors if you click on the “Pattern” button.
6. Share your collage! When you have it just the way you want it you can either save it to your device or open it directly in Instagram right from the app.

As you can see in the last screen shot you can use this app and save these collages for use anywhere – not just Instagram. I’ve used it for posting elsewhere often. This is not the final word on Instagramming or making collages so please share your own techniques! I learn something new every day as I use these tools and play with all the different options. What tips do you have to add?